Home File Sharing
When reconfiguring my home WIFI router this week, I have a thought to setup a home file sharing network drive. I try the Raspberry Pi approach first, and upgrade to a dedicated NAS (Network Attached Storage) device Synology 220j a few weeks later.
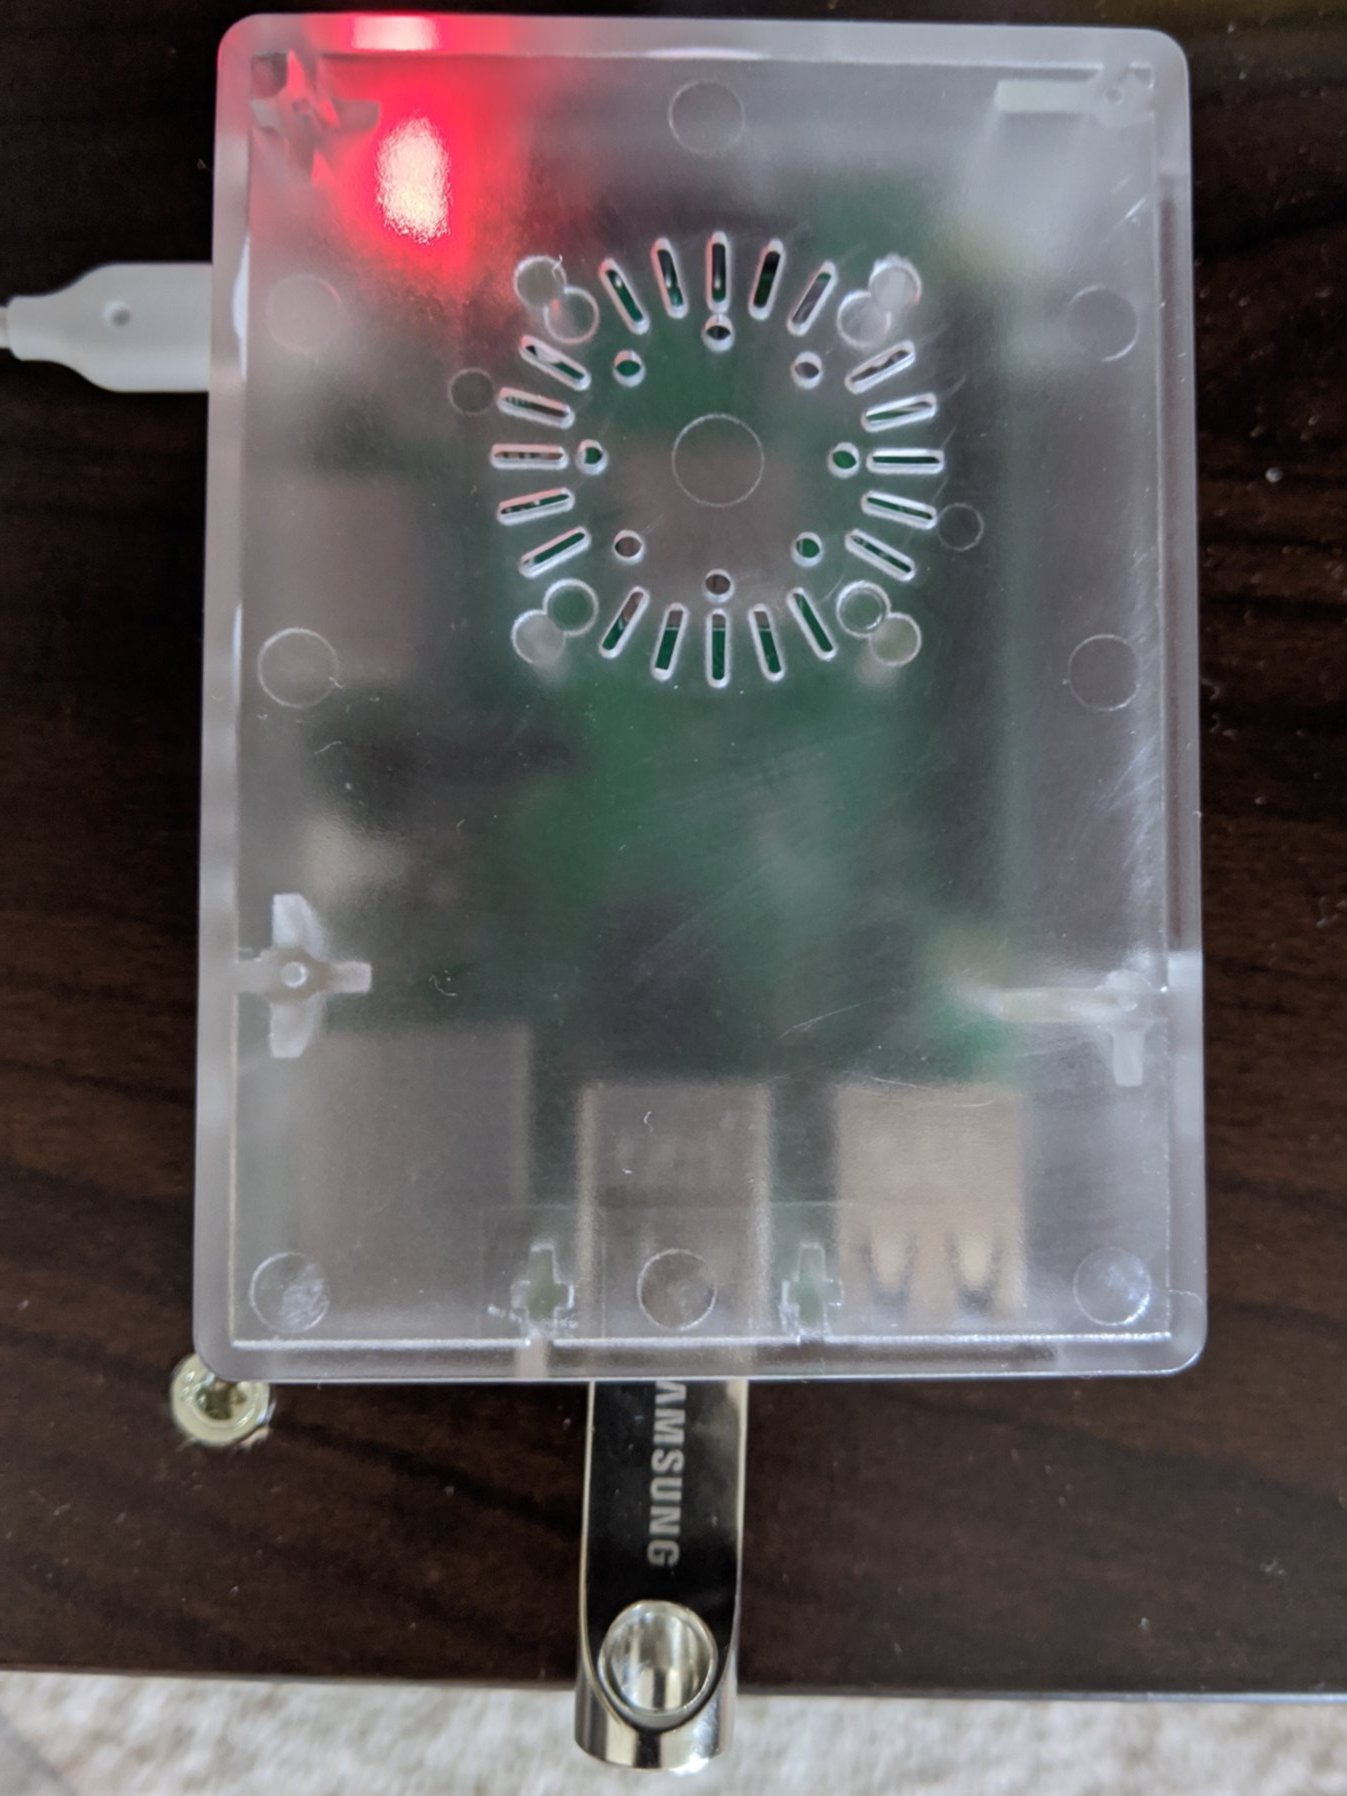
Raspberry Pi 3B+
The Raspberry Pi 3B+ and a case I bought one or two years ago has been collecting dust in a drawer for quite some time. It is time to bring them out and get some use out of them.
My original plan is to connect a retired SSD to the PI via an USB adapter. It would be a little messy to handle the cable and the exposed SSD drive. So I decide to use a Samsung 64GB USB flash drive which is also retired.
The two articles linked below are on the top of Google search.
Pcmag.com - How to Turn a Raspberry Pi Into a NAS for Whole-Home File Sharing
Magpi - Build a Raspberry Pi NAS
After reading the two articles, it seems that the first one suites my needs better. The first tutorial is quite good but I still run into a few problems. Below are some notes I have when setting up the Pi.
- The Raspberry Pi 3B+ needs a 3A or 2.5A power supply. If the USB power charger does not provide enough voltage, the Pi will start and then automatically shut off.
- My cell phone quick charger has 3A voltage output and it works well with Pi.
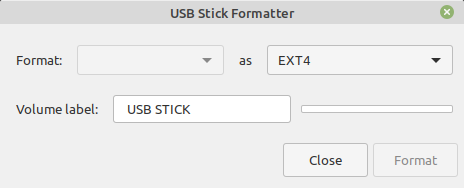
- The USB stick does not work with
sudo mkfscommand in the tutorial. I have to use Linux Mint desktop app USB Stick Formatter to format it to EXT4 first and then connect it to Pi. - I tried both full version desktop Raspberry Pi OS and Lite minimal version. It seems that the full version is easy to setup WIFI, SSH, and other settings.
- Even though it is possible to setup the Pi without a monitor, it is much easier to connect it to monitor and do initial setup.
- The network drive speed is not so fast and it is between 0.5M/s to 2M/s. But it is good enough for sharing files among home computers and my phone.
- Android file manager app Cx File Explorer can access network drive with SMB protocol.
- Use address
\\raspberrypiin Windows andsmb://raspberrypiin Linux to access the shared drive.

Synology 220j NAS
The Synology 220j two bay NAS is on sale a few weeks ago and I get one. The setup process is easy and fast. I install two 2.5 inch laptop hard drives in it, and watch those two youtube vidoes. About one hour later, the NAS is up and running.
Synology DS220j Review by StorageReview - Youtube
Synology DS220J NAS - The Best Way to Store & Backup your Data
Here are the steps to mount the nas in Linux Mint. The idea is mainly from a post on linux mint online forum.
- Edit the
/etc/fstabto add a mounting point, and add the line to the end of the file. This assumes that you name the Synology device asnas.
//nas.local/home/ /media/synology cifs \
   credentials=/etc/samba/credentials,uid=1000,gid=1000 0 0
- Edit the
/etc/samba/credentialsfile to add username and password.
username=<username>
password=<pwd>
- Type command
sudo mkdir /media/synologyto create the mounting directory. - Run command
sudo mount -ato activate the new line in/etc/fstab.
Ultimate File Sharing
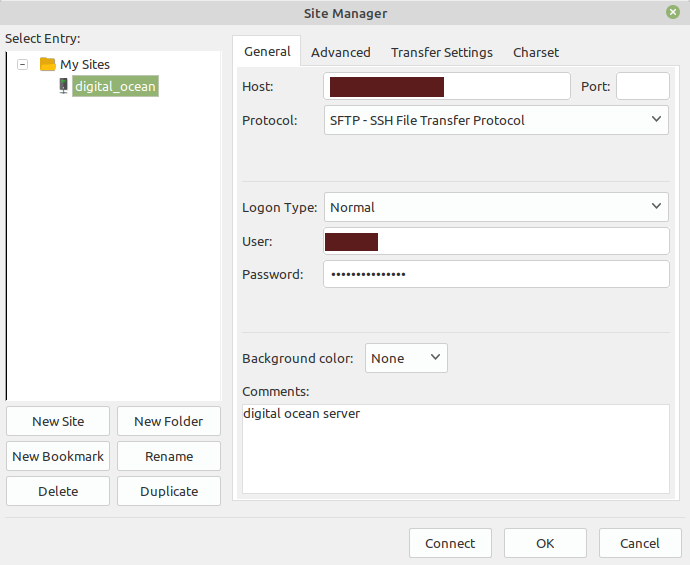
The Synology network drive works well when all computers connect to the same router. My work laptop is on a VPN and it does not have access to the Synology network drive.
An easy way to share files between the work computer (on VPN) and other computers is to use a digital ocean Ubuntu server, and use FileZilla ftp software to upload and download files or folders thru SFTP protocol. I am not sure if this is a correct way to do things but it works well for me now.
Those three commands install FileZilla on Linux Mint.
apt-cache show filezilla # show package info
sudo apt update
sudo apt install filezilla -y
Reference: Q&A on superuser.com
Update on 9/3/2021
In Ubuntu 21.04, the fstab setting does not work. The setting should be in the following format.
//<192.168...>/home/ /media/synology cifs  \
   username=<name>,password=<pw>,uid=1000,gid=1000